
Getting started
Five steps to an inventory that answers questions. Your Excel list is imported in an afternoon.
1. Account and organization
Section titled “1. Account and organization”-
Sign up — with name, email and password, or directly with your Microsoft or Google account.
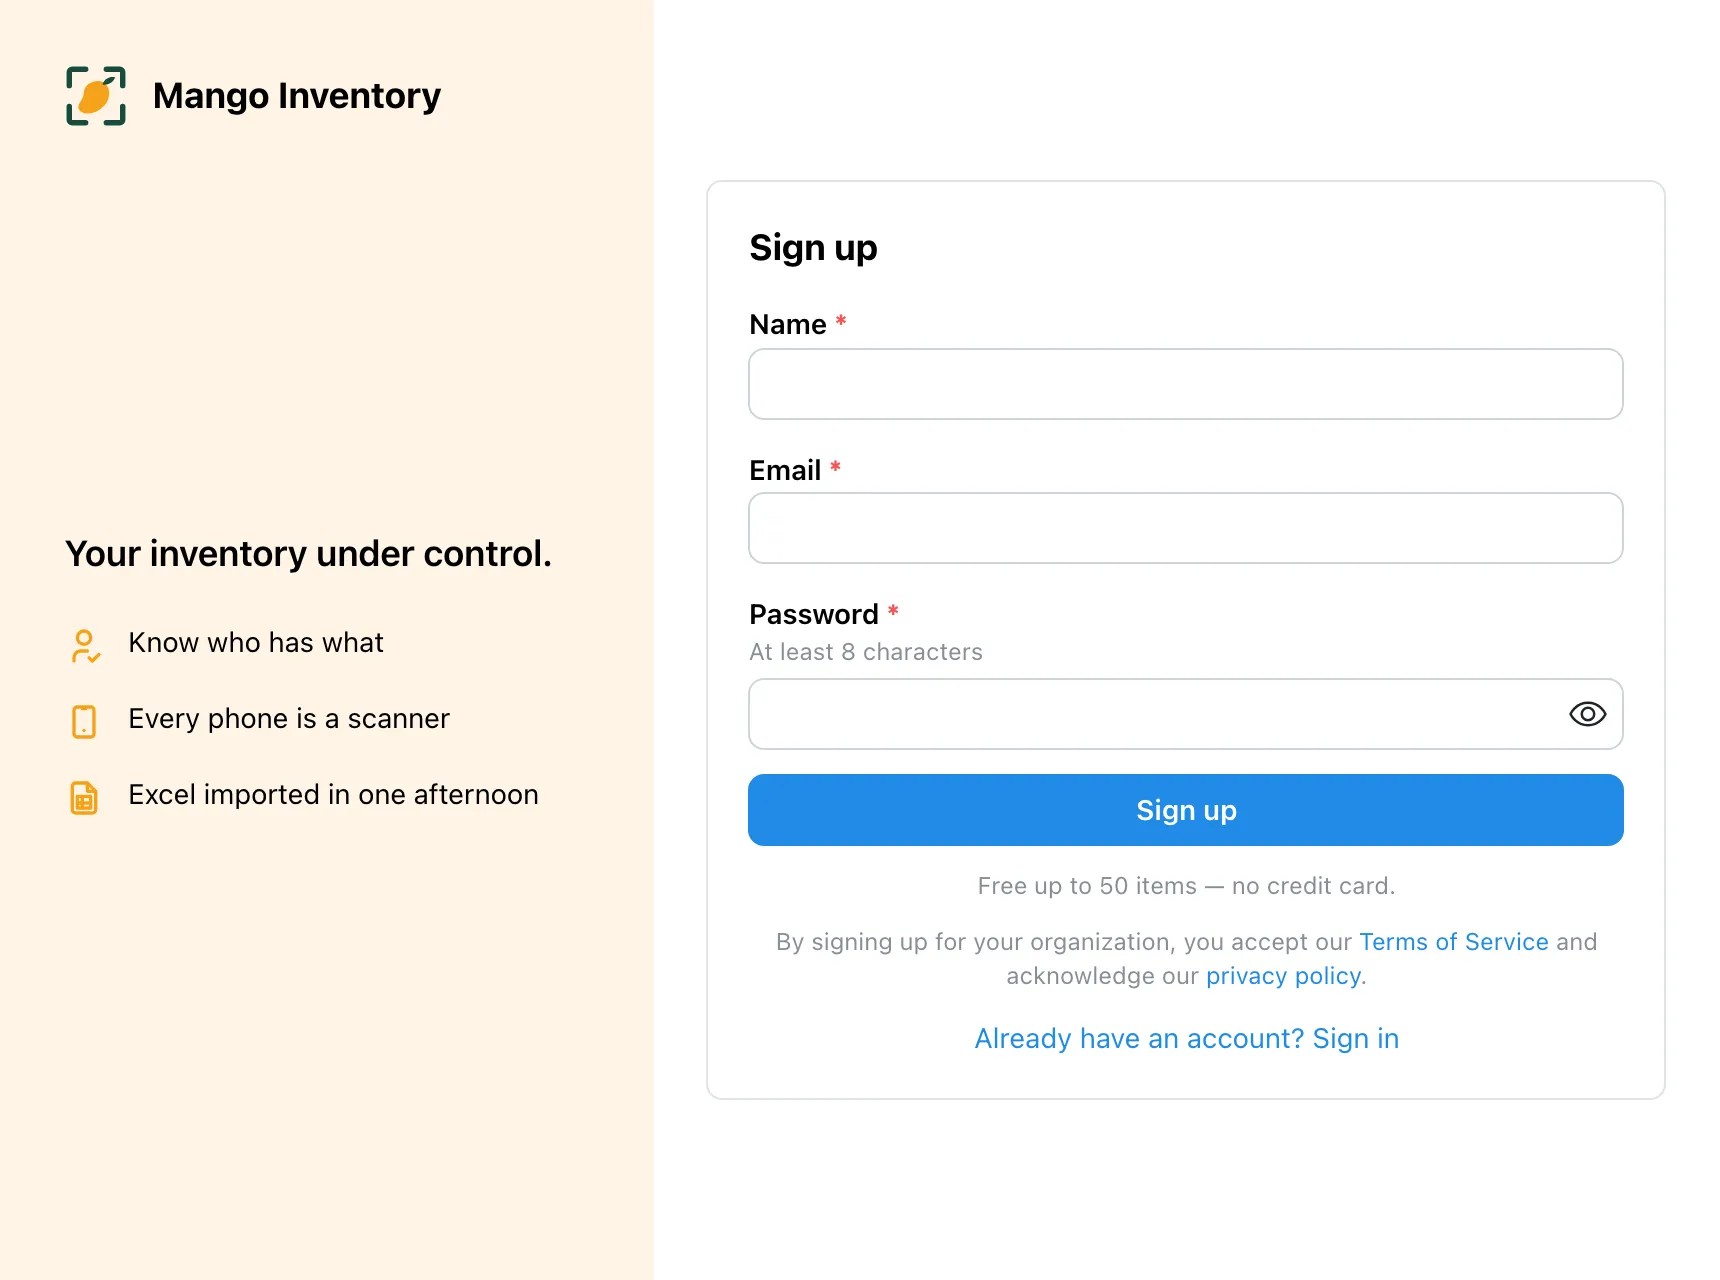
-
Create your organization — the workspace for your whole inventory. You can change the name and the logo at any time.
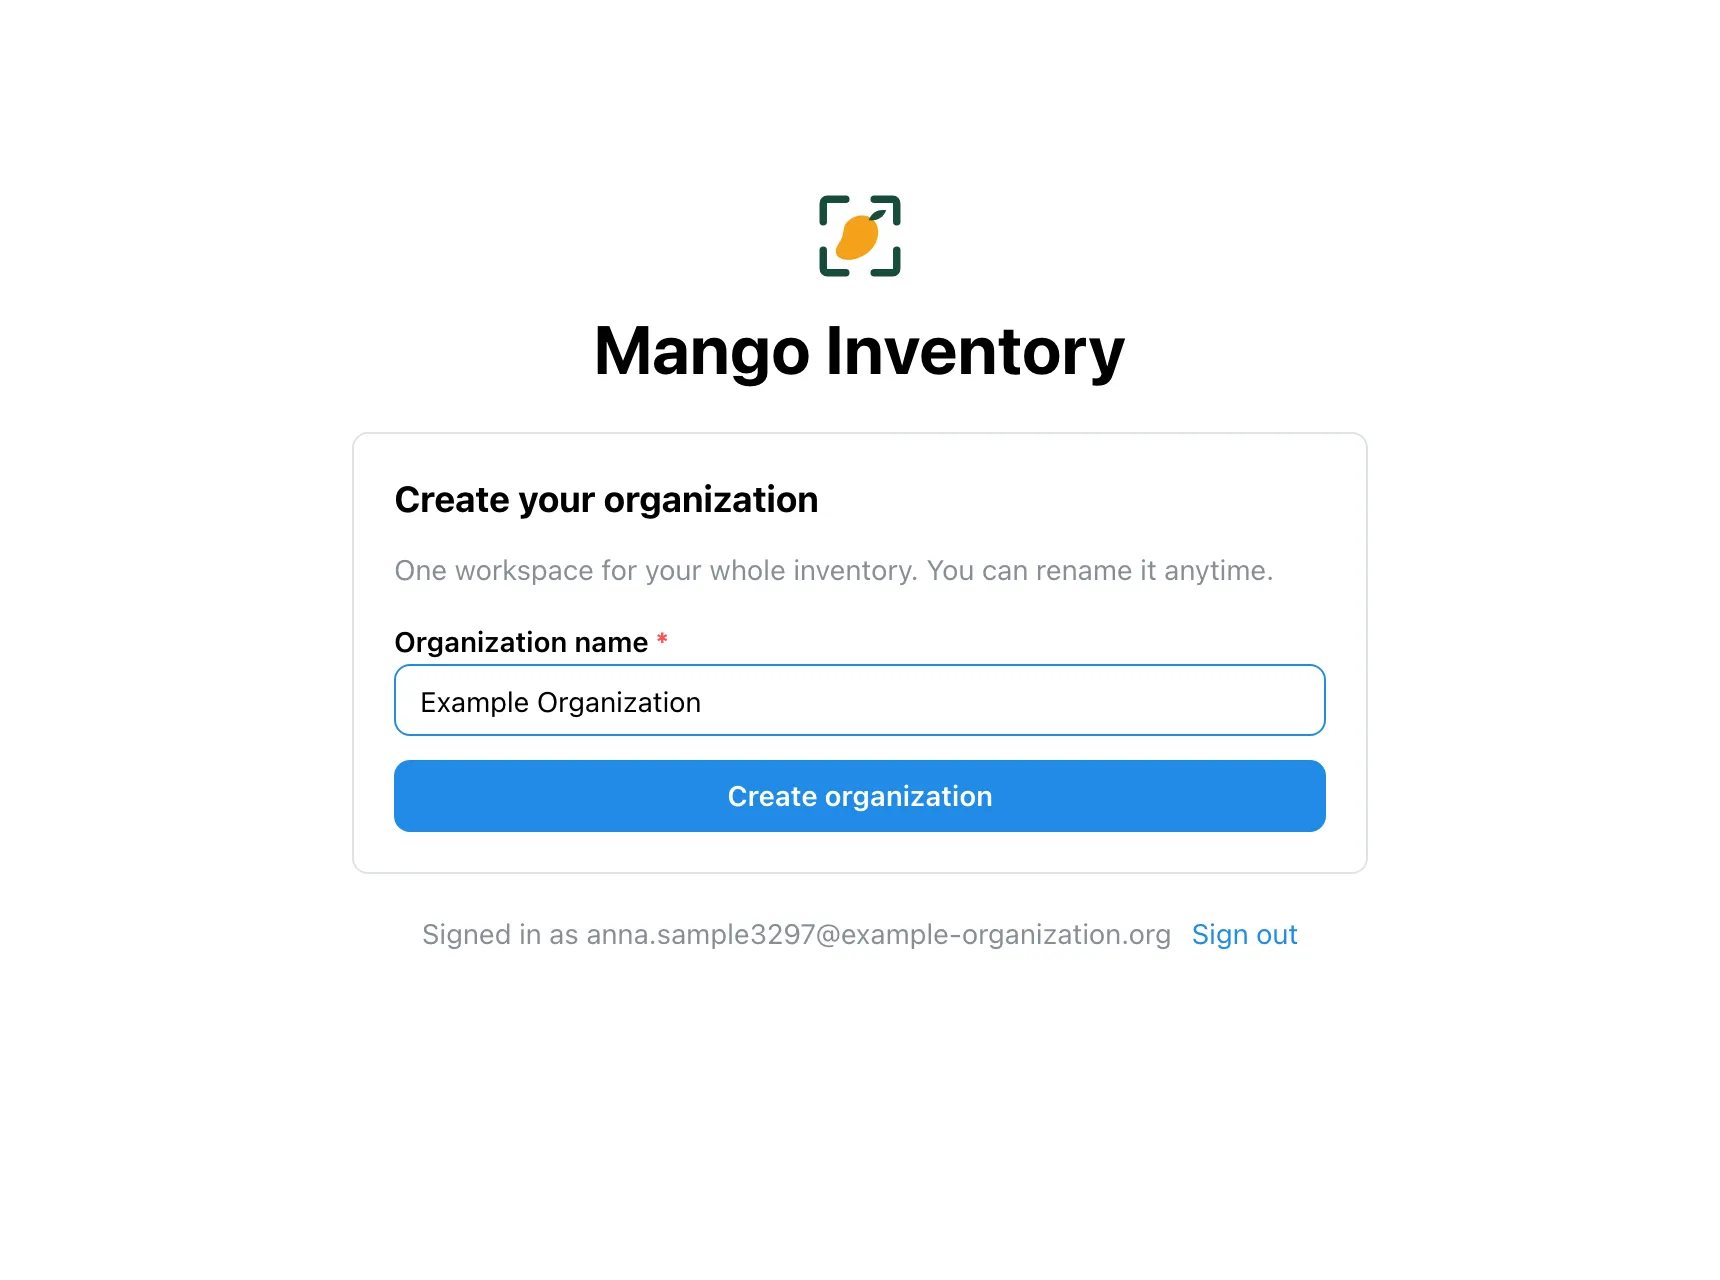
Were you invited? Then you don’t need your own organization: the invite link takes you straight to the right organization, with the right role.
2. The setup assistant
Section titled “2. The setup assistant”On the dashboard, “Setup assistant” opens six short steps. You can skip any of them and come back to it later under Settings → Organization.
- Organization type — the assistant suggests matching categories and locations.
- Locations — buildings, rooms, storerooms, vehicles. Start rough: a dozen is plenty, details grow over time.
- Categories — “IT”, “Tools”, “Vehicles”. Each category brings its own fields.
- Team invites — invite your colleagues and pick the role for each person.
- Maintenance setup — who creates the first maintenance plans? That person then finds the task under “My tasks”.
- Items — capture the first records.
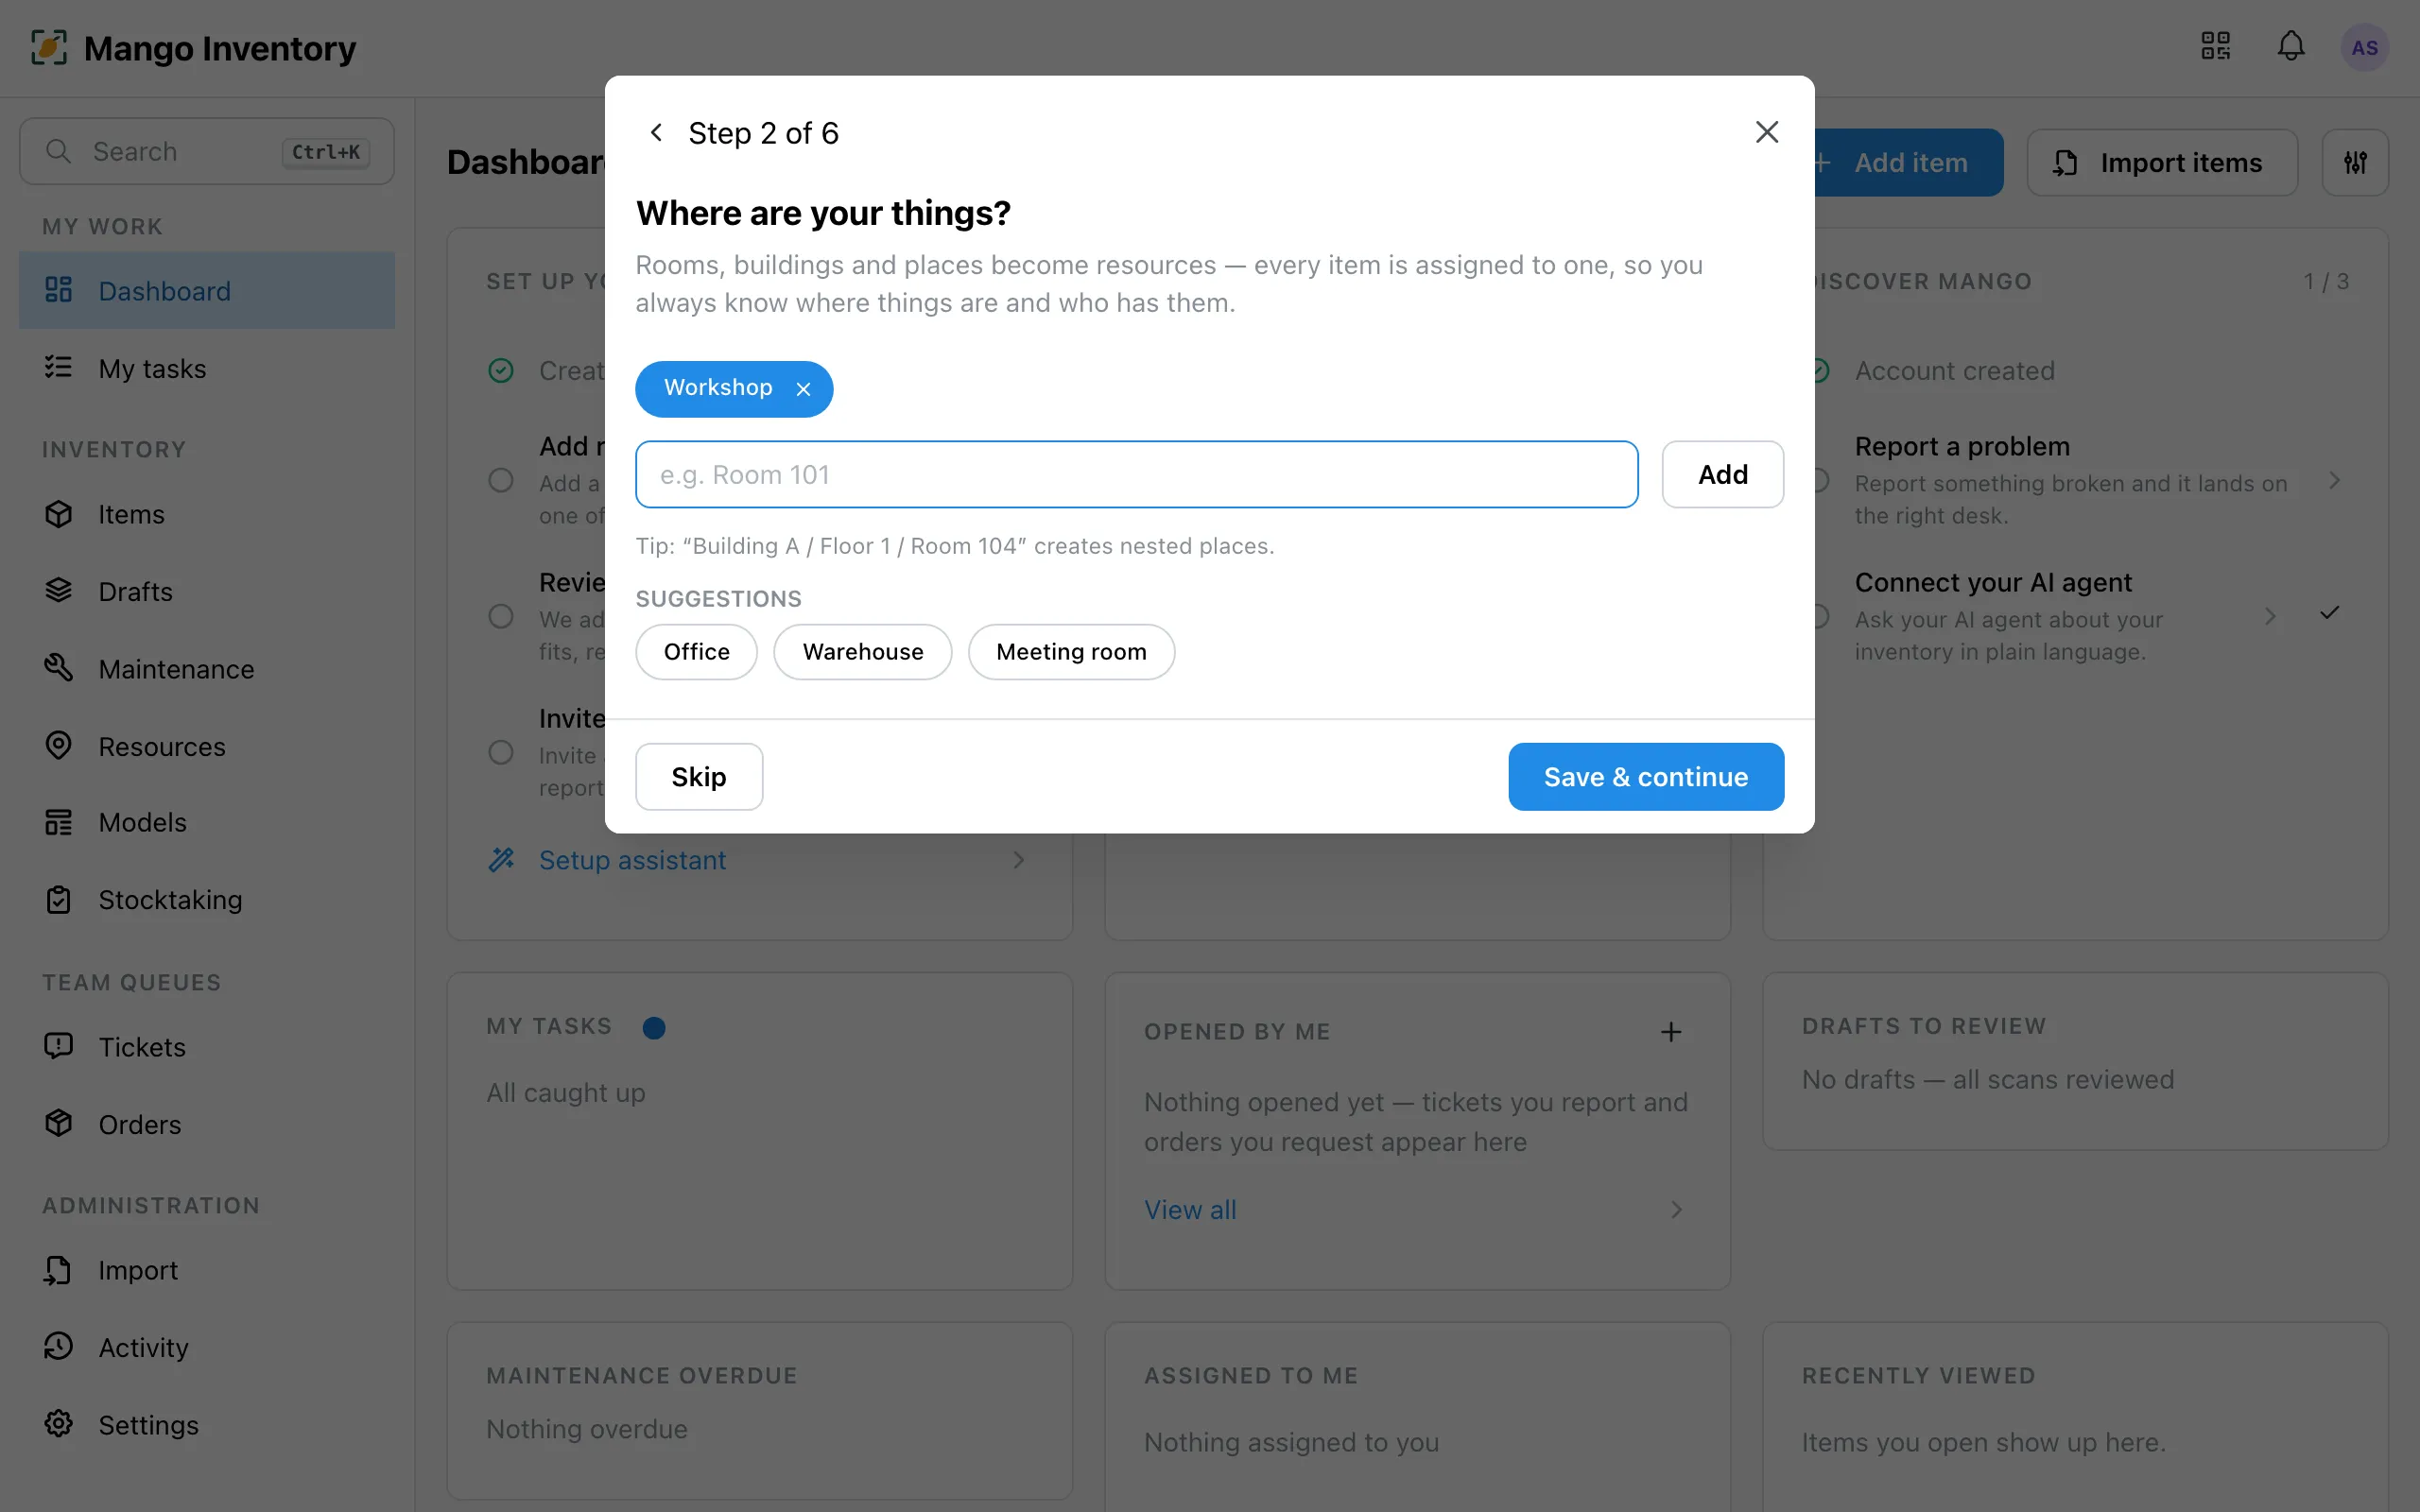
3. Capture items
Section titled “3. Capture items”Import your Excel list (if you like, we do that for you free of charge), walk through the building with your phone, or capture one by one. The three routes are under Capturing your inventory.
4. Stick on labels
Section titled “4. Stick on labels”With the label, every scan finds the right item. You have a choice:
- Labels from us — numbered QR labels. Stick it on, scan it once, and the label belongs to the device.
- Print your own — labels with name, inventory number and QR code on standard sheets.
- Existing barcodes — keep using your current labels or serial number stickers.
Details: Barcodes & labels.
5. Scan — and go
Section titled “5. Scan — and go”From now on everything starts with a scan: checking out, reporting a defect, counting. With the mobile app, a handheld scanner or the laptop camera. The dashboard shows you which step comes next. In the web app, ⌘K (Windows: Ctrl+K) opens search across everything.
What next? Check out equipment, plan the first inspections or invite your team.