
Overview
Mango Inventory is the inventory app for organizations with a lot of equipment. It answers, without ringing round and without digging through Excel: What do we have? Where is it, and who has it? Has it been inspected?
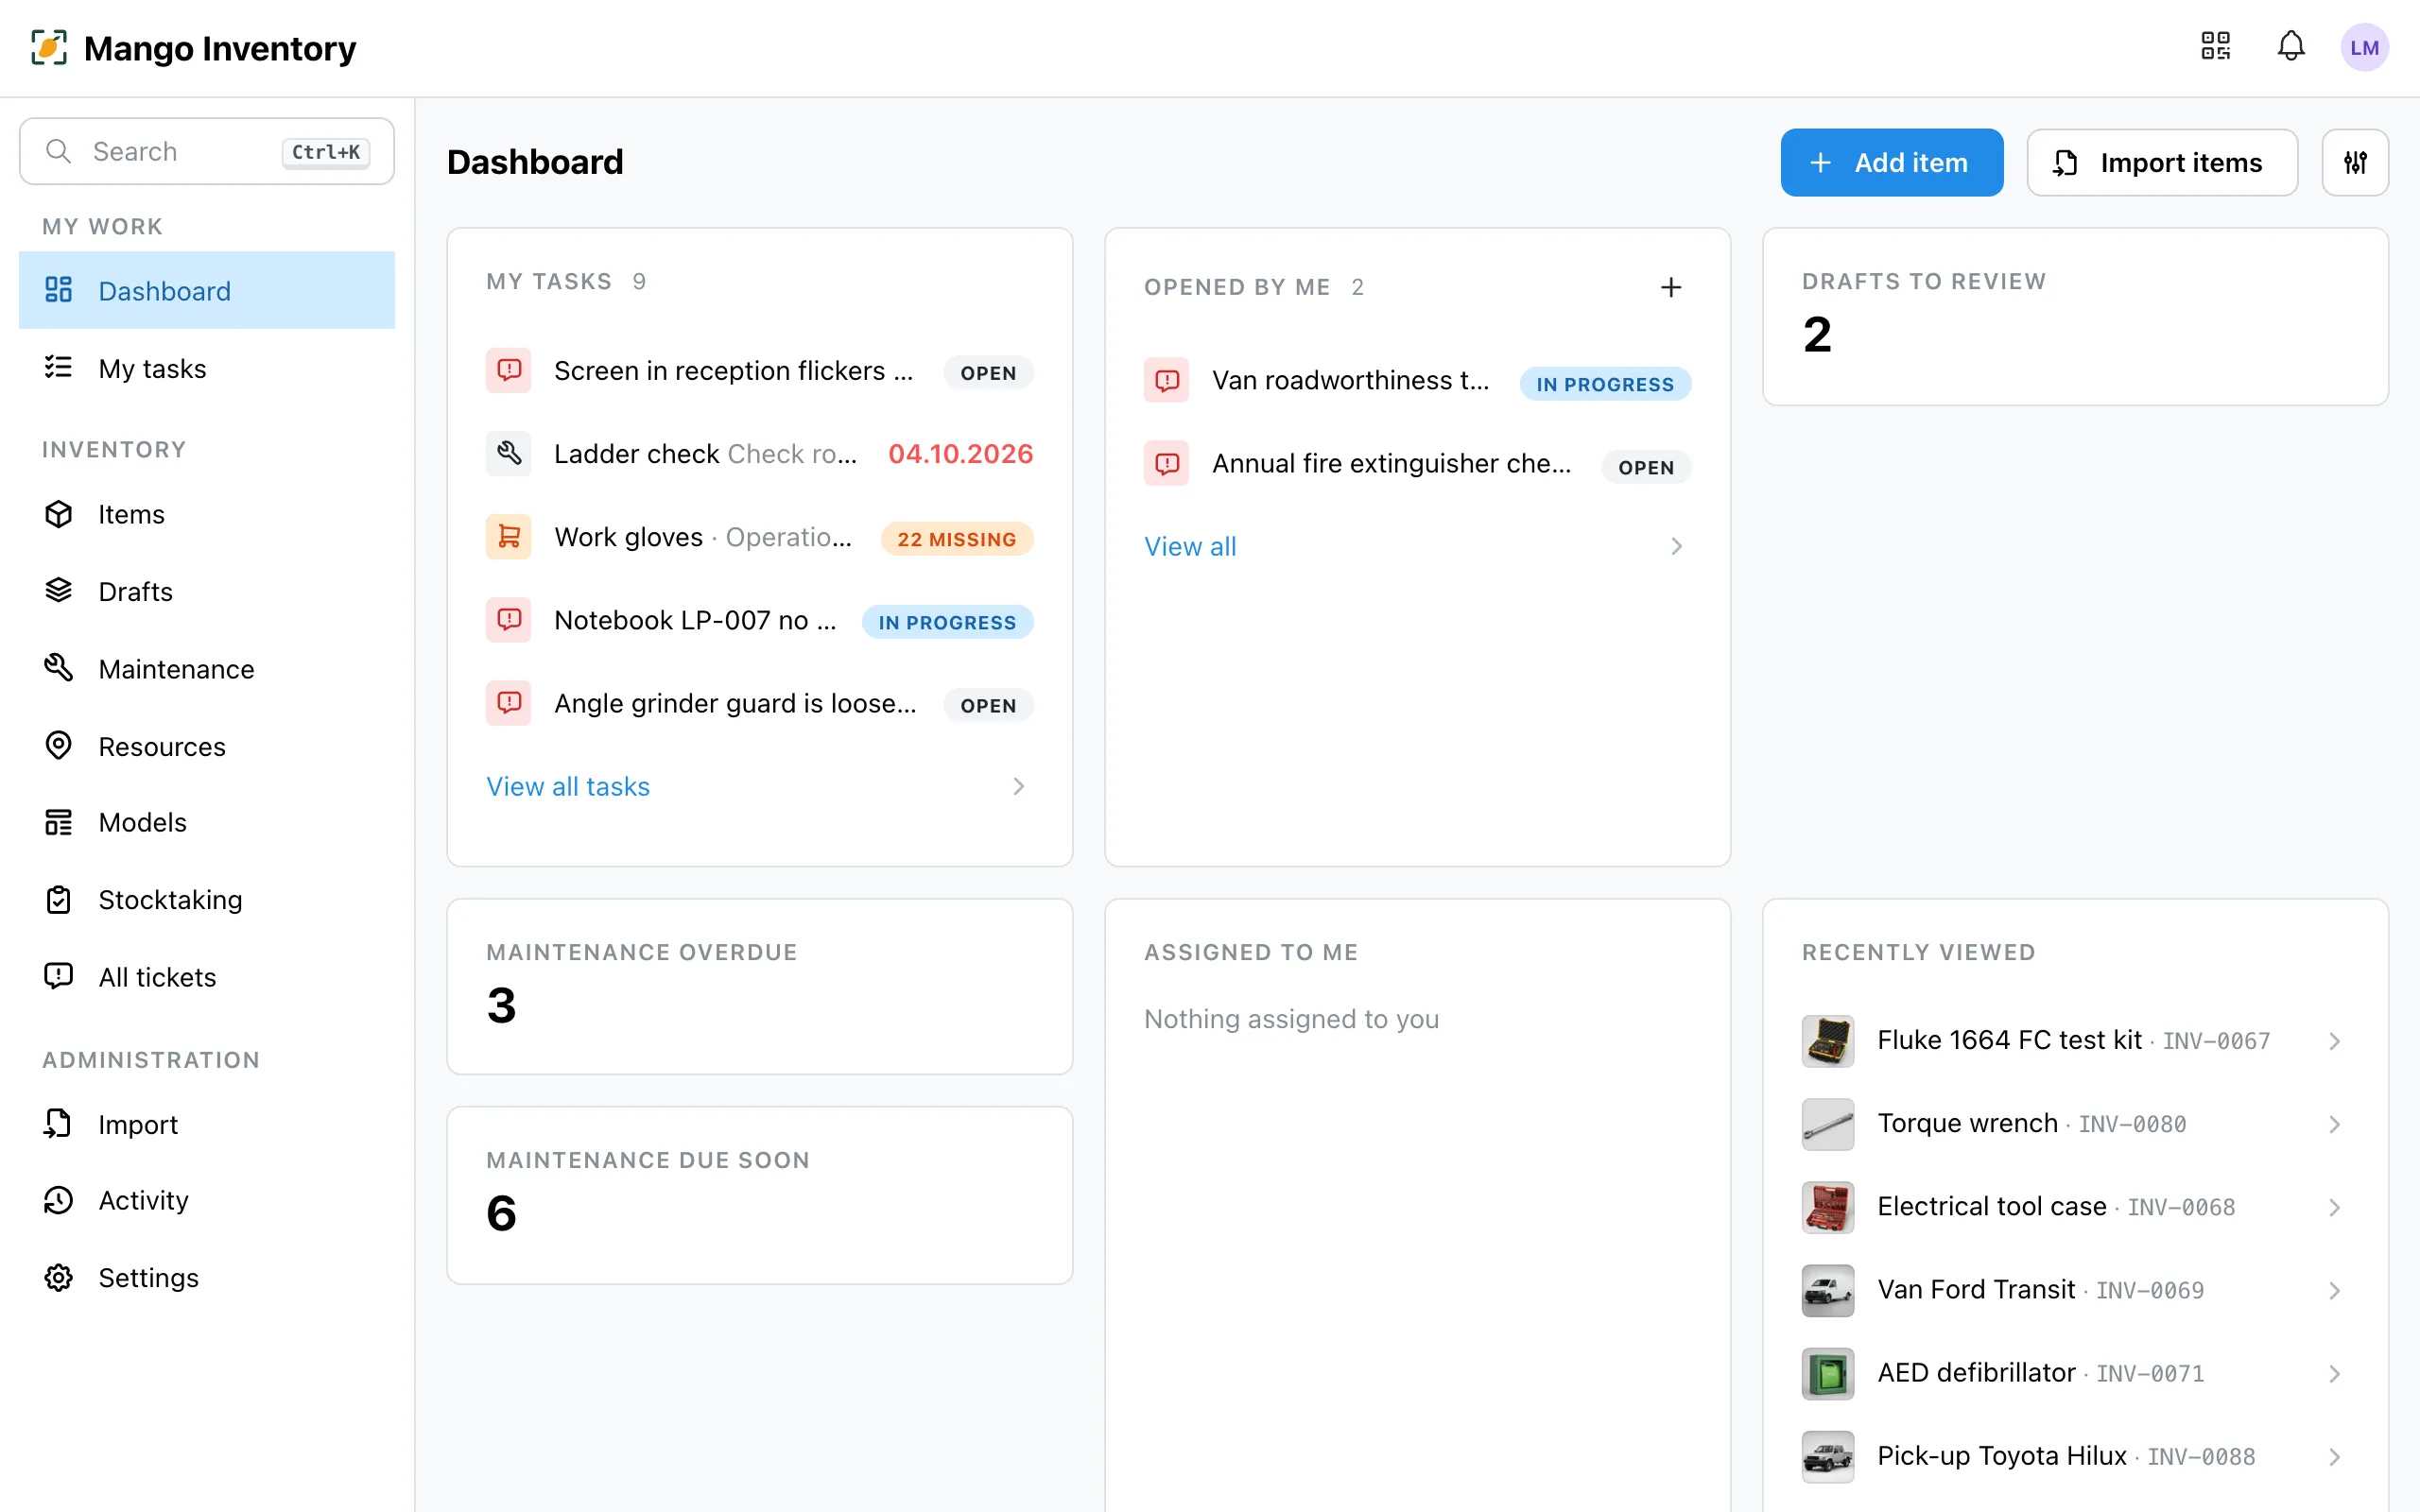
What Mango Inventory does
Section titled “What Mango Inventory does”- Capture your inventory the way that suits you — from your Excel list (if you like, we import it for you free of charge), one by one at the computer, or with your phone through the building: one photo per item, the AI suggests name and details. → Capturing your inventory
- Scan the label, the item opens — QR labels from us, printed yourself, or your existing barcodes. Scan with the app, a handheld scanner or the laptop camera. → Barcodes & labels
- Check out to a person, room or vehicle — by scan. You see where something is, who has it and who had it before. If you want, the person confirms receipt by email. → Check-out & locations, Receipt confirmation
- Report a defect, even without an account — anyone reports straight through the label. Whoever wants to give the device to a person afterwards sees a warning. → Tickets
- Plan and prove inspections — fire extinguishers yearly, ladders every six months: every inspection comes up in good time, is ticked off with a checklist, and the proof is on the device when the audit asks. → Maintenance & inspections, History & records
- Stocktaking with your phone — split up the areas, scan room by room, and get a PDF report for the audit at the end. → Stocktaking
- Request material instead of shouting for it — orders with clear responsibility, and a heads-up before consumables run out. → Orders
- The whole team joins in — every person sees their open tasks. Sign in with the existing Microsoft or Google account. → My tasks, Users & roles
- App for iOS and Android — scan, check out, inspect and count right at the shelf. If you like, you can also ask through ChatGPT, Claude or Copilot. → Mobile app, Connect your AI
How to start
Section titled “How to start”Three steps to a running inventory:
- Set up your organization — locations, categories and team. An assistant walks you through it.
- Capture items — your Excel list is imported in an afternoon. Or you capture at the computer and with your phone.
- Stick on labels — from then on, every scan finds the right item.
Getting startedFrom zero to a running inventory, step by step.
Tickets, stocktaking, orders and receipt confirmation come with the Pro plan, maintenance & inspections and the AI connection with Premium. Prices are on the pricing page, security and data protection on the trust page.