
Barcodes & labels
The label connects the device to its record: scan the label — the item opens. And anyone without an account reports a defect through the same label.
At a glance
Section titled “At a glance”- Labels from us — numbered QR labels, ready to stick on.
- Print your own — labels with name, inventory number and QR code on standard sheets.
- Keep using existing barcodes — old inventory labels or serial number stickers. An item may carry several codes.
- Scan with whatever you like — mobile app, handheld scanner, laptop camera, or your phone as a scanner for the computer.
- Report a defect without an account — anyone scans the QR label with their phone camera and reports a problem. The responsible person has it on their desk right away.
Buying pre-printed labels instead of printing
Section titled “Buying pre-printed labels instead of printing”The simplest route: you get the labels ready-numbered from us. Write to us with how many you need; if you like, we set up the first labels together with you. For clothing and textiles there are special labels. Any other roll of sequentially numbered barcode labels works for scanning too — but reporting without an account only works with QR labels from Mango.
-
Stick the label on the item. The number doesn’t matter, it only has to be unique.
-
Open the item (at the computer or in the mobile app) and scan the label in the “Barcodes” section. From now on the code belongs to this item.
-
Next item. In pairs it goes twice as fast: one person sticks, the other scans.
Printing your own labels
Section titled “Printing your own labels”-
In the table under “Items”, choose “Print labels” and select the rows, or print a single label from the open item. Locations such as rooms and shelves get labels too.
-
Pick the sheet format and download the PDF. Labels already used on a started sheet are skipped.
-
Print, stick on, done. Every label shows name, inventory number, organization and QR code.
Which labels to buy?
Section titled “Which labels to buy?”The PDFs fit standard A4 label sheets:
- Avery L7160 (product page): 63.5 × 38.1 mm, 21 per sheet. The compact standard format.
- Avery L7163 (product page): 99.1 × 38.1 mm, 14 per sheet. More room for easy-to-read names.
Sheets from other manufacturers with the same dimensions work just as well. For workshops and outdoor use, the same formats come as weatherproof film.
Scanning
Section titled “Scanning”- Mobile app — in the “Scan” tab, every scanned item shows up right away in the list below; tapping it opens it.
- Handheld scanner at the computer — any USB or Bluetooth scanner that types like a keyboard works without drivers. A scan opens the item, selects it in a picker, or counts it in the open stocktake.
- Laptop camera — the scan icon at the top of the web app opens the camera. Hold the label in front of it, done.
- Phone as a scanner — “Use your phone as scanner” in the camera window pairs your phone with the computer. Every scan on the phone appears on the screen right away.
No account: report a defect
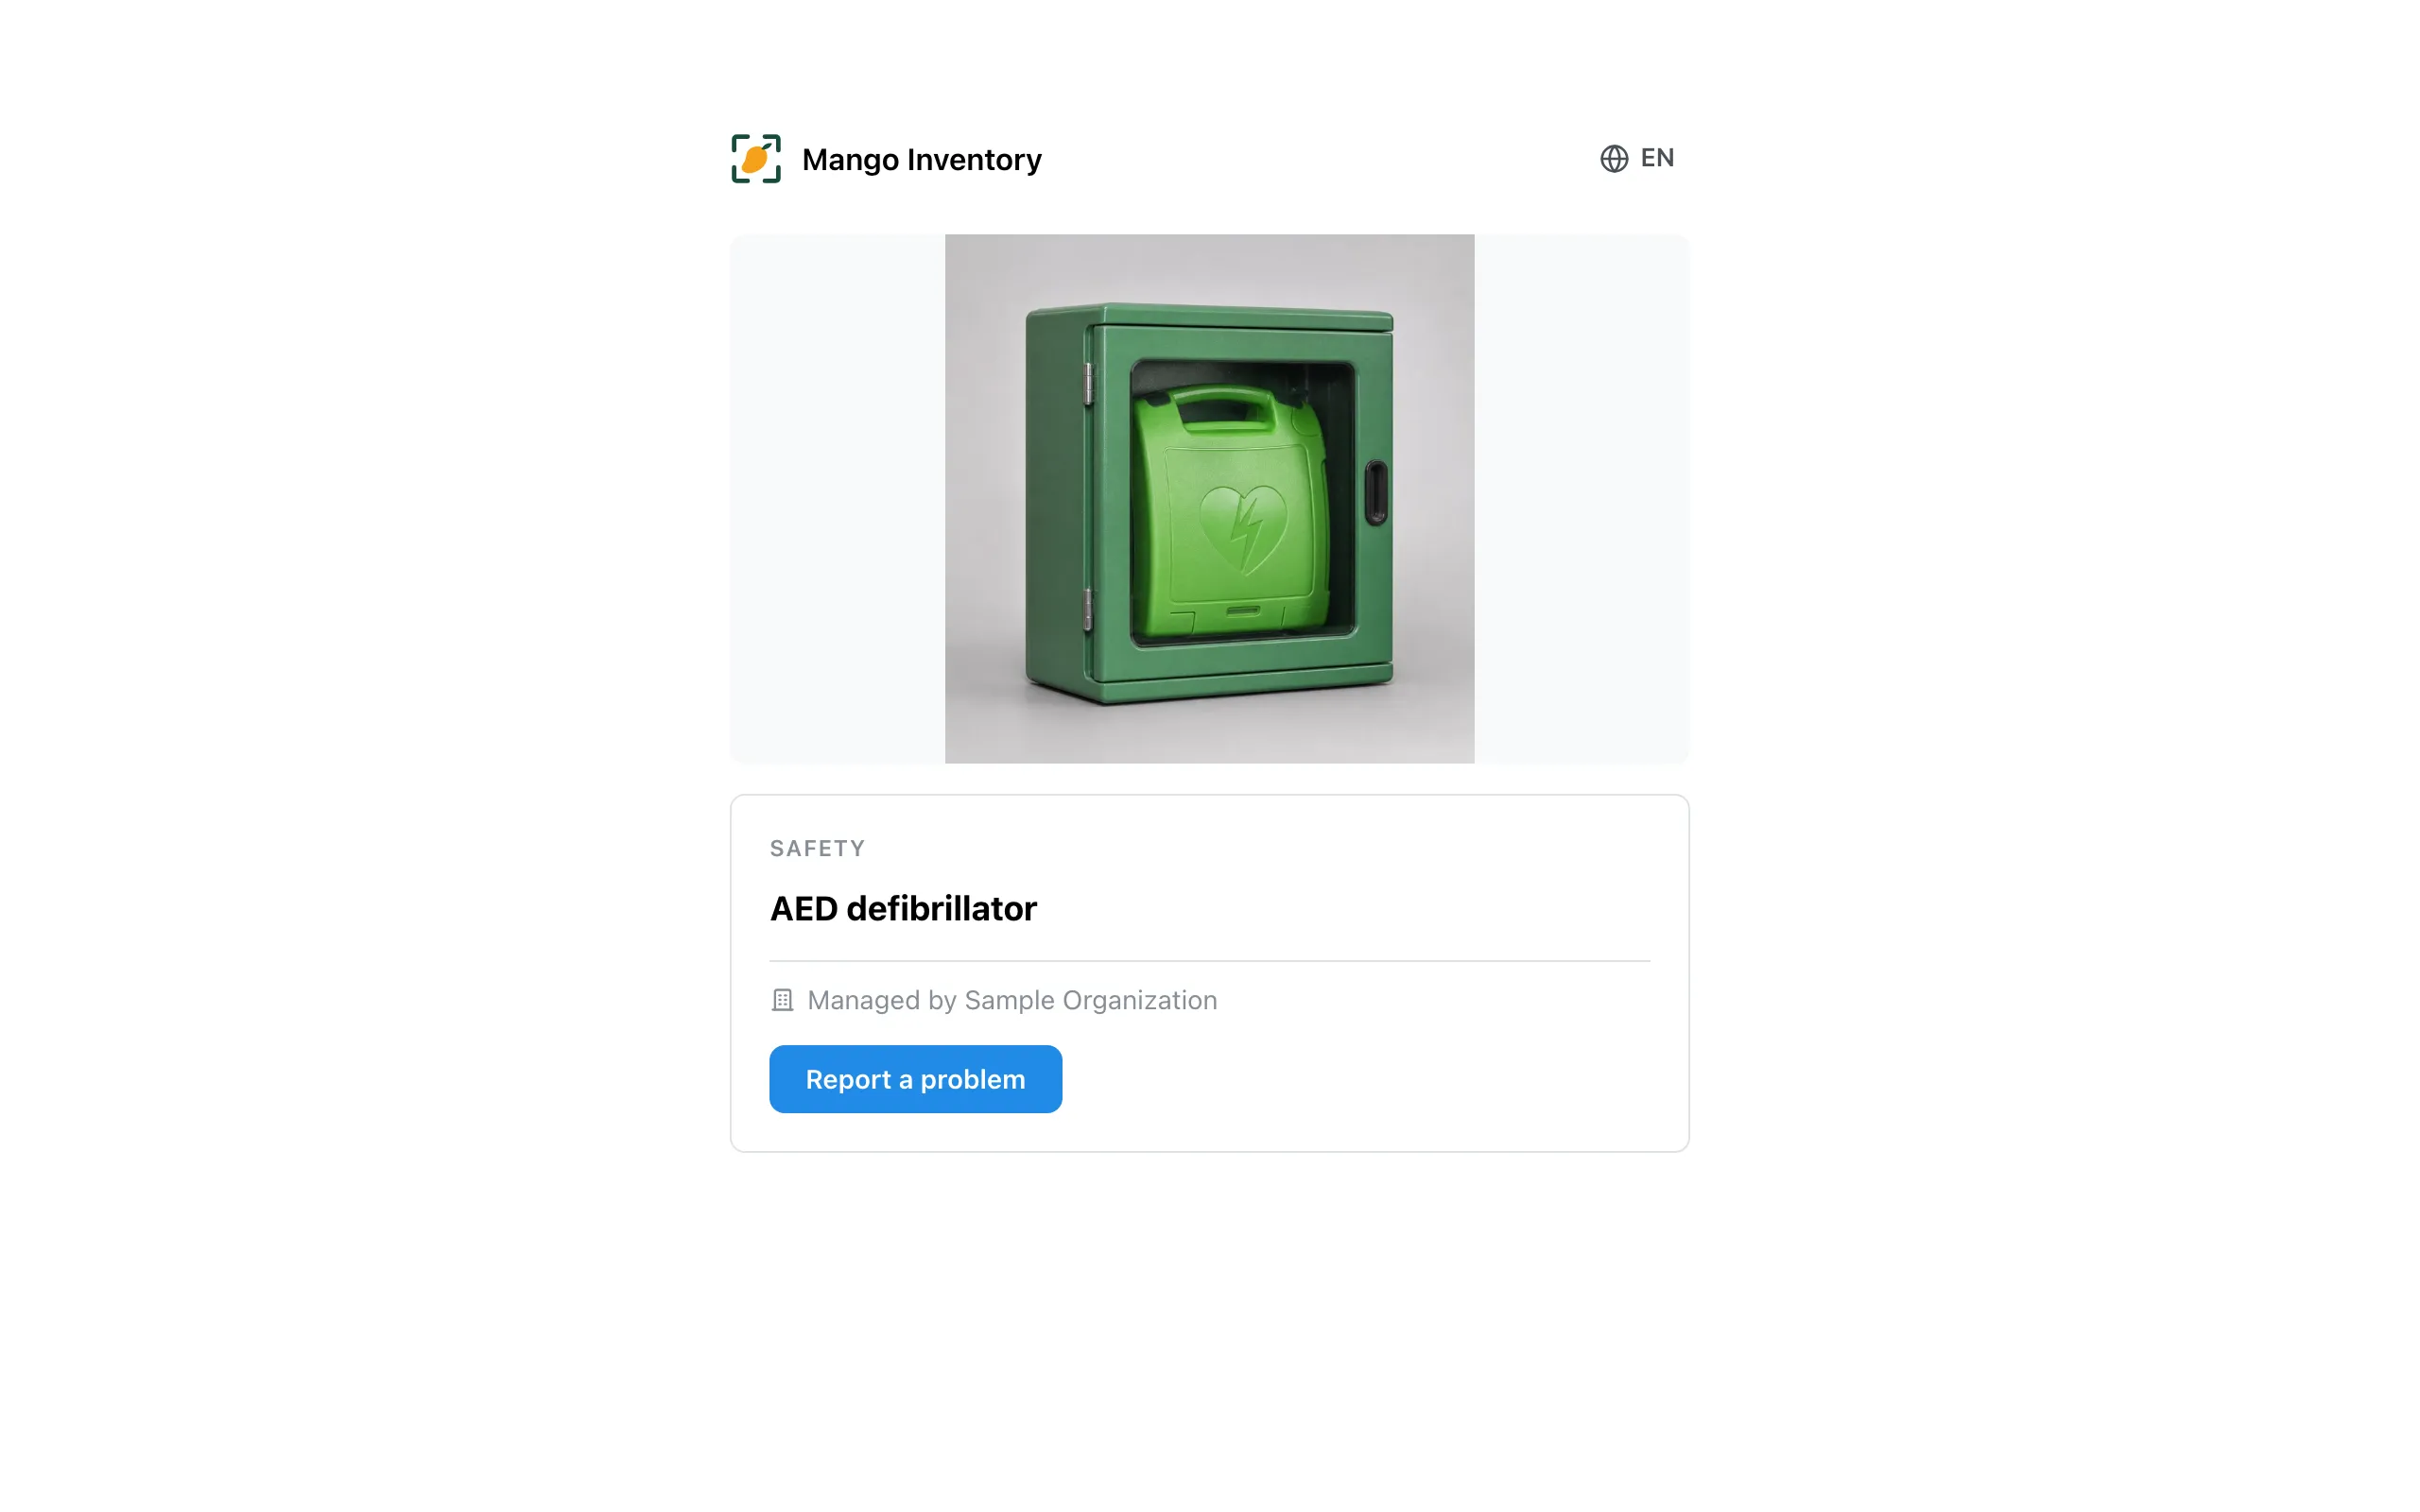
Section titled “No account: report a defect”Mango’s QR label works with any phone camera. It opens a public page with name, photo and category — without location or internal details. There, anyone reports a problem, even without an account; the report lands as a ticket with the responsible person. Anyone signed in sees the whole item in the app straight away. Reporting without an account is part of the Tickets module (from the Pro plan).
Existing barcodes
Section titled “Existing barcodes”In the open item’s “Barcodes” section you attach any code: by scanning or by typing it in. Search and scanner then find the item just as they would through a Mango label. If the numbers are already in your Excel list, the import links them right away. Detaching a code works the same way: remove the row, and the sticker is free for another device.